Bezel setting

In the bezel setting, a thin strip of metal surrounds the edge of the stone and is burnished inward to hold it. It is very secure and protects the stone's edges.
How it is done #
- The outline of the stone is measured and a strip of metal (the bezel) cut.
- It is closed, fitted and soldered to a base.
- The stone is placed and the rim is pushed and burnished over it.
Variants #
Full bezel (surrounds the entire stone) and partial or half bezel (leaves some areas free).
Ideal for #
Cabochons, soft or fragile stones and everyday jewelry. A bezel hides part of the stone and lets in less light.
Care #
It is very durable. Check that the rim is still tight against the stone.
Step by step #
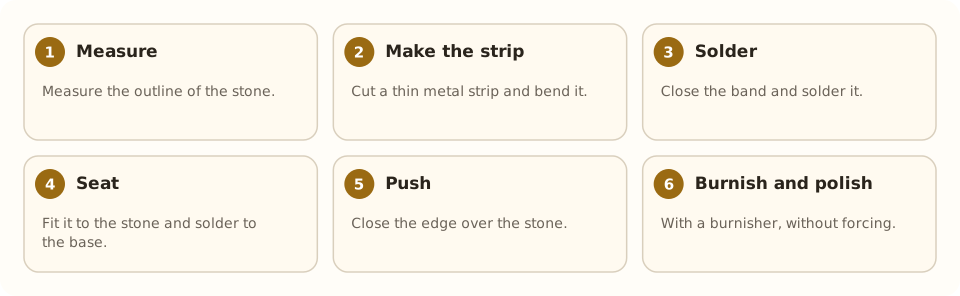
- Measure. Measure the outline of the stone.
- Make the strip. Cut a thin metal strip and bend it.
- Solder. Close the band and solder it.
- Seat. Fit it to the stone and solder to the base.
- Push. Close the edge over the stone.
- Burnish and polish. With a burnisher, without forcing.
Tools and materials #
- Bezel strip (silver or gold)
- Torch and solder
- Pusher and burnisher (burnishing)
- Mandrel (mandrel)
Common mistakes #
- Bezel too high: it hides the stone.
- Strip too thick: it will not close.
- Heating with the stone in place.
- Marking the stone when burnishing.
See also #
This entry was drafted with the help of AI and is pending review by the author.
Related articles
 Techniques
Pavé setting
Pavé covers a metal surface with many small stones held by tiny beads of metal, as if “paved”; it gives continuous sparkle.
 Techniques
Burnishing: smoothing without removing metal
Burnishing smooths and shines metal by rubbing it with a polished steel tool, without removing material; used on bezels, prongs and as a final finish.
 Techniques
Metal clay (PMC)
Metal clay mixes silver or gold powder with a binder; it is hand-modeled and fired into solid metal. A modern, accessible technique.