Channel setting
In the channel setting, stones slide into a groove between two metal walls and are held by them, with no visible prongs. It is used in bands with stones in a row.
How it is done #
- Small seats are cut on the inside of the two walls of the channel.
- The stones are dropped in, one by one.
- The walls are closed over the girdle of the stones with a hammer or burnisher.
Ideal for #
Square or baguette stones, round brilliants, in wedding bands and bracelets. The stones are protected at the sides.
Limitation #
A channel is hard to resize (see wedding rings) and the stones are slightly covered at the sides.
Care #
Clean the channel with a brush, because dirt builds up.
Step by step #
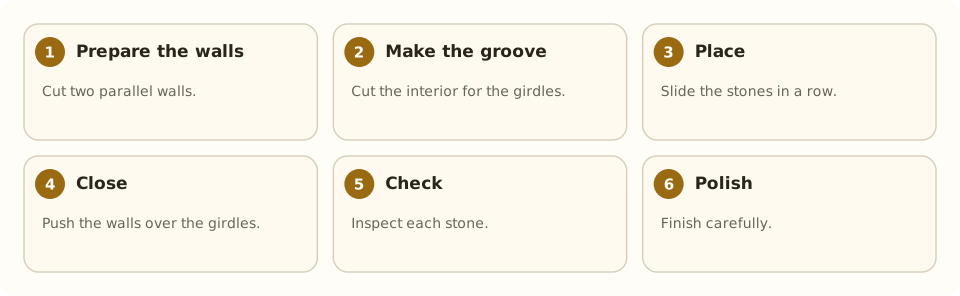
- Prepare the walls. Cut two parallel walls.
- Make the groove. Cut the interior for the girdles.
- Place. Slide the stones in a row.
- Close. Push the walls over the girdles.
- Check. Inspect each stone.
- Polish. Finish carefully.
Tools and materials #
Common mistakes #
- Stones of different sizes.
- Groove too wide.
- Closing with too much force: stones break.
- Not checking for movement.
See also #
This entry was drafted with the help of AI and is pending review by the author.
Related articles
 Techniques
Pavé setting
Pavé covers a metal surface with many small stones held by tiny beads of metal, as if “paved”; it gives continuous sparkle.
 Techniques
Burnishing: smoothing without removing metal
Burnishing smooths and shines metal by rubbing it with a polished steel tool, without removing material; used on bezels, prongs and as a final finish.
 Techniques
Metal clay (PMC)
Metal clay mixes silver or gold powder with a binder; it is hand-modeled and fired into solid metal. A modern, accessible technique.