Flush (gypsy) setting
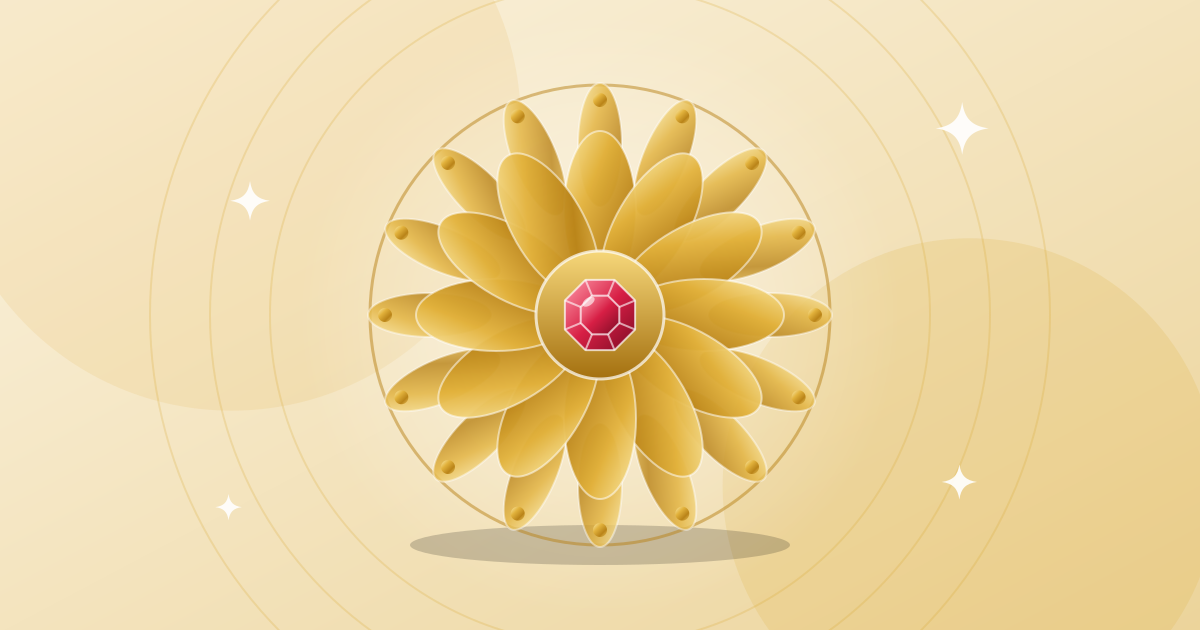
In the flush (or “gypsy”) setting, the stone is placed in a hole and the metal around it is burnished over the edge, so it sits level with the surface.
How it is done #
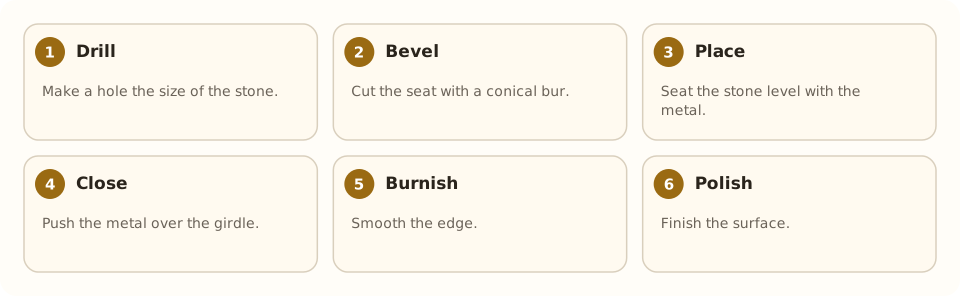
- A hole the size of the stone is drilled and the seat refined.
- The stone is inserted.
- The metal is burnished over the edge of the stone and polished.
Advantages #
Very resistant to knocks and nothing to snag; popular in men's rings, wedding bands and sports jewelry.
Limitations #
It shows less of the stone and lets in less light.
Stones #
Ideal for hard stones such as diamond, sapphire and ruby.
Step by step #
- Drill. Make a hole the size of the stone.
- Bevel. Cut the seat with a conical bur.
- Place. Seat the stone level with the metal.
- Close. Push the metal over the girdle.
- Burnish. Smooth the edge.
- Polish. Finish the surface.
Tools and materials #
- Seat and conical burs
- Burnisher
- Pusher
- Ring clamp
Common mistakes #
- Hole too large.
- Seat too shallow.
- Closing with excess pressure.
- Marking the stone.
See also #
This entry was drafted with the help of AI and is pending review by the author.
Related articles
 Techniques
Pavé setting
Pavé covers a metal surface with many small stones held by tiny beads of metal, as if “paved”; it gives continuous sparkle.
 Techniques
Burnishing: smoothing without removing metal
Burnishing smooths and shines metal by rubbing it with a polished steel tool, without removing material; used on bezels, prongs and as a final finish.
 Techniques
Metal clay (PMC)
Metal clay mixes silver or gold powder with a binder; it is hand-modeled and fired into solid metal. A modern, accessible technique.