Prong setting

In the prong (or claw) setting, four or six small metal claws close over the edge of the stone. It leaves almost the whole stone exposed and lets light in.
Types of prong #
Round, flat, V-shaped (to protect points, as on pear and marquise) and leaf-shaped prongs. Four prongs show more of the stone; six offer more security.
The “Tiffany” #
The six-prong setting with the stone raised, popularized in 1886 as the “Tiffany setting”, is the classic solitaire model.
How it is done #
- A seat is cut in the prongs with a bur.
- The stone is placed and the prongs are pressed over the edge (girdle).
- The tips are rounded and polished.
Care #
Prongs wear and can snag fabric: have them checked once a year (prong repair).
Step by step #
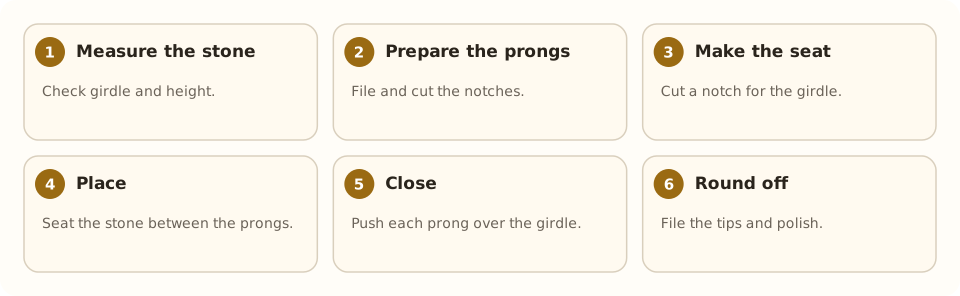
- Measure the stone. Check girdle and height.
- Prepare the prongs. File and cut the notches.
- Make the seat. Cut a notch for the girdle.
- Place. Seat the stone between the prongs.
- Close. Push each prong over the girdle.
- Round off. File the tips and polish.
Tools and materials #
Common mistakes #
- Prongs too thin.
- Seat too shallow: the stone moves.
- Closing one prong without balancing the other.
- Leaving tips that snag clothing.
See also #
This entry was drafted with the help of AI and is pending review by the author.
Related articles
 Techniques
Pavé setting
Pavé covers a metal surface with many small stones held by tiny beads of metal, as if “paved”; it gives continuous sparkle.
 Techniques
Burnishing: smoothing without removing metal
Burnishing smooths and shines metal by rubbing it with a polished steel tool, without removing material; used on bezels, prongs and as a final finish.
 Techniques
Metal clay (PMC)
Metal clay mixes silver or gold powder with a binder; it is hand-modeled and fired into solid metal. A modern, accessible technique.