Wire wrapping

Wire wrapping creates jewelry by bending, coiling and weaving wire, without soldering. It is used to mount cabochons, beads and crystals.
Basic techniques #
- Simple loop and wrapped loop: to join beads and links.
- Spiral coil: to finish and decorate.
- Wrapped pendant: the wire surrounds a stone and holds it.
- Wire braiding and weaving.
Wire #
Copper, silver, brass or plated. The temper (“dead soft”, “half hard”) and gauge determine how it works. See rolling and wire drawing.
Tools #
Round-nose pliers, flat-nose pliers and flush cutters; nylon-jaw pliers. See pliers and tweezers.
Tips #
Do not mark the wire with the pliers and harden it with a nylon mallet when finished.
Step by step #
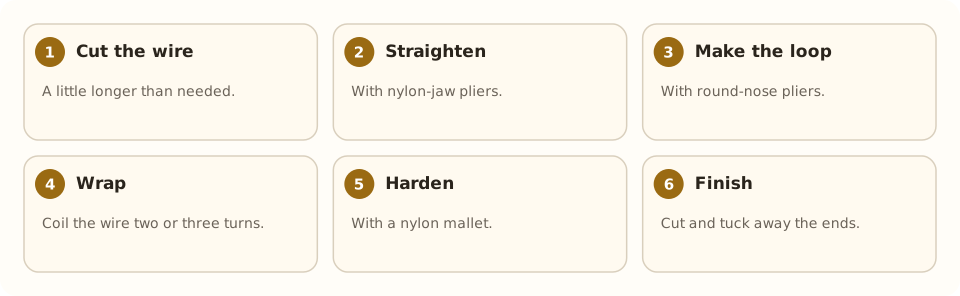
- Cut the wire. A little longer than needed.
- Straighten. With nylon-jaw pliers.
- Make the loop. With round-nose pliers.
- Wrap. Coil the wire two or three turns.
- Harden. With a nylon mallet.
- Finish. Cut and tuck away the ends.
Tools and materials #
- Soft copper, silver or brass wire
- Pliers (pliers)
- Flush cutters
- Nylon mallet
Common mistakes #
- Leaving sharp ends.
- Marking the wire with the jaws.
- Using hard wire: it breaks.
- Not hardening the piece at the end.
See also #
This entry was drafted with the help of AI and is pending review by the author.
Related articles
 Techniques
Pavé setting
Pavé covers a metal surface with many small stones held by tiny beads of metal, as if “paved”; it gives continuous sparkle.
 Techniques
Burnishing: smoothing without removing metal
Burnishing smooths and shines metal by rubbing it with a polished steel tool, without removing material; used on bezels, prongs and as a final finish.
 Techniques
Metal clay (PMC)
Metal clay mixes silver or gold powder with a binder; it is hand-modeled and fired into solid metal. A modern, accessible technique.