Bending, curving and twisting metal
Many pieces of jewelry are made without melting: wires and strips of metal are bent and twisted until the form is reached.
Bending #
With flat- or round-nose pliers you make angles and loops; with mandrels and forming forks you curve rings and bangles. Anneal when the metal stiffens.
Twisting #
Two or more wires held at one end and twisted at the other form a cable. It can be done with a drill or a hand twister. Twisted square wire gives a spiral effect.
Mandrels #
Ring and bangle mandrels (tapered) let you curve to an exact size. See pliers and tweezers.
Tips #
Protect pliers with nylon jaws so they do not mark the metal.
Step by step #
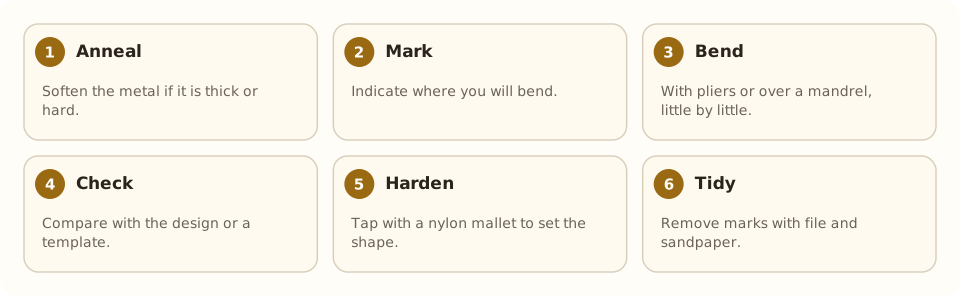
- Anneal. Soften the metal if it is thick or hard.
- Mark. Indicate where you will bend.
- Bend. With pliers or over a mandrel, little by little.
- Check. Compare with the design or a template.
- Harden. Tap with a nylon mallet to set the shape.
- Tidy. Remove marks with file and sandpaper.
Tools and materials #
- Flat and round-nose pliers
- Mandrels
- Nylon or rawhide mallet
- Paper or wire template
Common mistakes #
- Bending sharply in one go: it cracks.
- Bending back and forth several times: it hardens and breaks.
- Marking with the pliers' jaws.
- Not hardening the piece at the end: it loses its shape.
See also #
This entry was drafted with the help of AI and is pending review by the author.
Related articles
 Techniques
Pavé setting
Pavé covers a metal surface with many small stones held by tiny beads of metal, as if “paved”; it gives continuous sparkle.
 Techniques
Burnishing: smoothing without removing metal
Burnishing smooths and shines metal by rubbing it with a polished steel tool, without removing material; used on bezels, prongs and as a final finish.
 Techniques
Metal clay (PMC)
Metal clay mixes silver or gold powder with a binder; it is hand-modeled and fired into solid metal. A modern, accessible technique.