Handmade chains

Making a chain by hand is one of the jeweler's tests of patience. Each link is prepared, closed and hooked into the previous one.
Links #
- Wind the wire in a tight spiral on a mandrel.
- Cut the spiral with the saw to get open rings.
- Close each ring and solder it so it does not open.
- Join the rings following the chosen pattern.
Patterns #
From the simple link (cable) to braided ones such as Byzantine. See types of chain.
Loop-in-loop #
An ancient technique (Egyptian and Roman) in which wire loops are interlocked with each other, without soldering, to form a flexible chain.
Finishing #
Pickle, wash and polish. A clasp is added at the end.
Step by step #
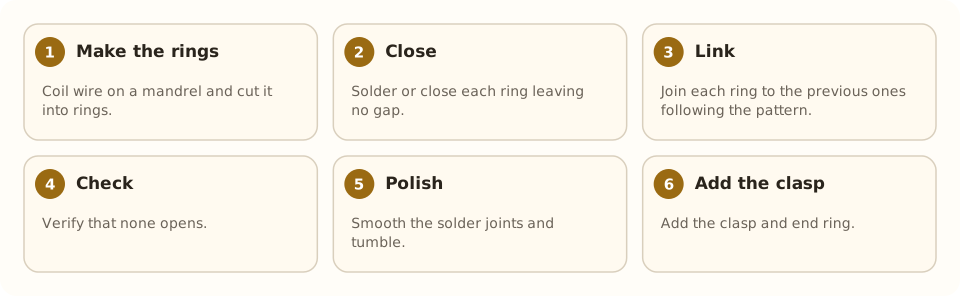
- Make the rings. Coil wire on a mandrel and cut it into rings.
- Close. Solder or close each ring leaving no gap.
- Link. Join each ring to the previous ones following the pattern.
- Check. Verify that none opens.
- Polish. Smooth the solder joints and tumble.
- Add the clasp. Add the clasp and end ring.
Tools and materials #
Common mistakes #
- Rings of different sizes.
- Unpolished solder joints that break.
- Choosing wire too fine for the use.
- Not checking the chain's flexibility.
See also #
This entry was drafted with the help of AI and is pending review by the author.
Related articles
 Techniques
Pavé setting
Pavé covers a metal surface with many small stones held by tiny beads of metal, as if “paved”; it gives continuous sparkle.
 Techniques
Burnishing: smoothing without removing metal
Burnishing smooths and shines metal by rubbing it with a polished steel tool, without removing material; used on bezels, prongs and as a final finish.
 Techniques
Metal clay (PMC)
Metal clay mixes silver or gold powder with a binder; it is hand-modeled and fired into solid metal. A modern, accessible technique.