Electroforming: hollow forms by electrolysis

In electroforming, a layer of metal (usually copper) is grown over a model in an electrolytic bath. The model is then removed, leaving a hollow, lightweight piece.
How it is done #
- A model (wax, resin, leaves, objects) is prepared and coated with conductive lacquer.
- It is immersed in a bath with copper ions and connected to the current.
- The metal deposits and grows.
- The model is removed (melting the wax) and the piece is finished.
Advantages #
It allows large, light pieces that would be very heavy in solid metal, and copying details such as leaves or flowers.
Finish #
It can be gilded, silvered or patinated at the end.
Safety #
It involves acids and electric current: use gloves, glasses and ventilation.
Step by step #
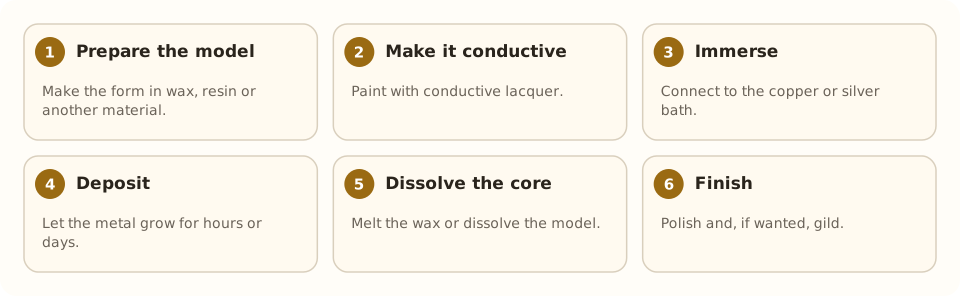
- Prepare the model. Make the form in wax, resin or another material.
- Make it conductive. Paint with conductive lacquer.
- Immerse. Connect to the copper or silver bath.
- Deposit. Let the metal grow for hours or days.
- Dissolve the core. Melt the wax or dissolve the model.
- Finish. Polish and, if wanted, gild.
Tools and materials #
- Tank and rectifier
- Copper, silver or gold bath
- Conductive lacquer
- Gloves, glasses and ventilation
Common mistakes #
- Incomplete conductive layer: areas with no metal.
- Current too high: rough deposit.
- Dirty bath.
- Taking the piece out too early.
See also #
This entry was drafted with the help of AI and is pending review by the author.
Related articles
 Techniques
Pavé setting
Pavé covers a metal surface with many small stones held by tiny beads of metal, as if “paved”; it gives continuous sparkle.
 Techniques
Burnishing: smoothing without removing metal
Burnishing smooths and shines metal by rubbing it with a polished steel tool, without removing material; used on bezels, prongs and as a final finish.
 Techniques
Metal clay (PMC)
Metal clay mixes silver or gold powder with a binder; it is hand-modeled and fired into solid metal. A modern, accessible technique.