Rubber molds and wax injection

To repeat a piece, a rubber mold is made from a master model and wax is injected into it. Each wax copy is then cast by the lost-wax process.
From master to mold #
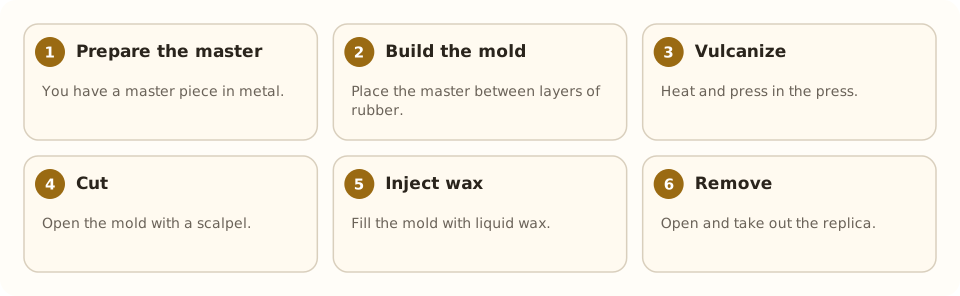
The master model (of metal) is placed in a frame with uncured rubber and vulcanized under heat and pressure. The mold is then cut open with a scalpel to remove the model.
Wax injection #
In an injector, the wax is heated and forced under pressure into the mold. It is opened and a replica removed.
Silicone #
For resins, tin or casting waxes, there are room-temperature-curing silicones, cheaper but less heat resistant.
Use in production #
It is the step between the one-off piece and serial production of a jewel.
Step by step #
- Prepare the master. You have a master piece in metal.
- Build the mold. Place the master between layers of rubber.
- Vulcanize. Heat and press in the press.
- Cut. Open the mold with a scalpel.
- Inject wax. Fill the mold with liquid wax.
- Remove. Open and take out the replica.
Tools and materials #
- Vulcanizing rubber or silicone
- Vulcanizing press
- Wax injector
- Scalpel
Common mistakes #
- Badly made cuts: visible lines.
- Injecting at too high a pressure.
- Wax too hot: it sticks.
- Storing the mold carelessly.
See also #
This entry was drafted with the help of AI and is pending review by the author.
Related articles
 Techniques
Pavé setting
Pavé covers a metal surface with many small stones held by tiny beads of metal, as if “paved”; it gives continuous sparkle.
 Techniques
Burnishing: smoothing without removing metal
Burnishing smooths and shines metal by rubbing it with a polished steel tool, without removing material; used on bezels, prongs and as a final finish.
 Techniques
Metal clay (PMC)
Metal clay mixes silver or gold powder with a binder; it is hand-modeled and fired into solid metal. A modern, accessible technique.