Laser and spot welding

Laser welding (and spot arc welding) melts metal at a tiny point without heating the rest of the piece. It is a staple tool of repair workshops.
How it works #
A concentrated laser pulse melts the metal at the joint, sometimes with a filler wire of the same metal, under an inert gas atmosphere (argon) that protects the area.
Advantages #
No flux is needed and in many repairs the stones need not be removed, heat is minimal and the joints are clean and almost invisible. It is especially useful with platinum.
Limits #
The equipment is expensive and the weld is very local, so it does not replace torch soldering in every case.
Uses #
Repairing chains and prongs, adjusting sizes, closing links and rebuilding edges.
Safety #
Work with specific eye protection and a closed chamber or filters.
Step by step #
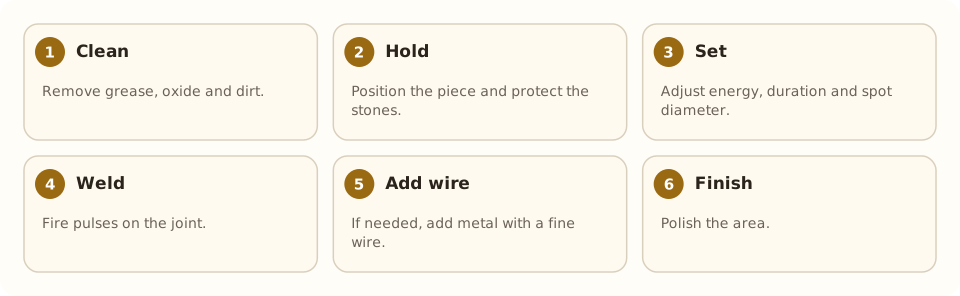
- Clean. Remove grease, oxide and dirt.
- Hold. Position the piece and protect the stones.
- Set. Adjust energy, duration and spot diameter.
- Weld. Fire pulses on the joint.
- Add wire. If needed, add metal with a fine wire.
- Finish. Polish the area.
Tools and materials #
- Laser welding machine
- Filler wire of the same metal
- Specific protective glasses
- Tweezers and supports
Common mistakes #
- Excessive energy: it pierces the metal.
- Welding without proper eye protection.
- Dirty surfaces: the joint comes out weak.
- Overheating next to sensitive stones.
See also #
This entry was drafted with the help of AI and is pending review by the author.
Related articles
 Techniques
Pavé setting
Pavé covers a metal surface with many small stones held by tiny beads of metal, as if “paved”; it gives continuous sparkle.
 Techniques
Burnishing: smoothing without removing metal
Burnishing smooths and shines metal by rubbing it with a polished steel tool, without removing material; used on bezels, prongs and as a final finish.
 Techniques
Metal clay (PMC)
Metal clay mixes silver or gold powder with a binder; it is hand-modeled and fired into solid metal. A modern, accessible technique.