3D scanning and CNC milling in jewelry

Besides printing, two digital technologies are very useful: 3D scanning, which turns a real object into a digital model, and CNC milling, which carves a block with a computer-guided cutter.
3D scanning #
A structured-light or laser scanner measures the shape of a piece of jewelry or a natural object and generates a model that can be edited, scaled or reproduced.
CNC milling #
A milling machine carves a block of wax (the most common use in jewelry) or metal, following a digital file. 4- and 5-axis machines allow complex forms.
What it is for #
Reproducing an antique piece, scaling a design, engraving or making series with precision.
Workflow #
Scanning, editing on the computer, milling, casting.
Step by step #
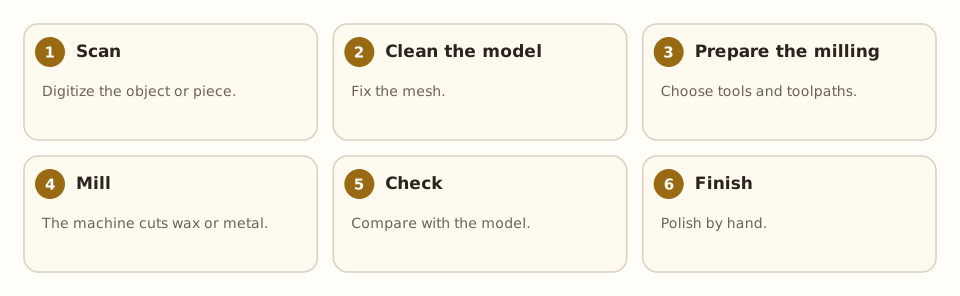
- Scan. Digitize the object or piece.
- Clean the model. Fix the mesh.
- Prepare the milling. Choose tools and toolpaths.
- Mill. The machine cuts wax or metal.
- Check. Compare with the model.
- Finish. Polish by hand.
Tools and materials #
- 3D scanner
- CAD/CAM software
- CNC milling machine
- Wax or metal blocks
Common mistakes #
- Scanning shiny objects without matting spray.
- Toolpaths too deep.
- Worn cutters.
- Not securing the block well.
See also #
This entry was drafted with the help of AI and is pending review by the author.
Related articles
 Techniques
Pavé setting
Pavé covers a metal surface with many small stones held by tiny beads of metal, as if “paved”; it gives continuous sparkle.
 Techniques
Burnishing: smoothing without removing metal
Burnishing smooths and shines metal by rubbing it with a polished steel tool, without removing material; used on bezels, prongs and as a final finish.
 Techniques
Metal clay (PMC)
Metal clay mixes silver or gold powder with a binder; it is hand-modeled and fired into solid metal. A modern, accessible technique.