Jewelry repair and restoration

To repair is to restore function to a jewel; to restore is to bring back its look without erasing its history. In antique pieces, the difference matters.
Common repairs #
Soldering chains and bands, replacing clasps, replacing stones, tidying prongs, re-plating white gold and resetting enamel.
Criteria for antiques #
Keep the patina and original marks; avoid over-polishing and replacing what can be conserved. Document what is changed.
When to see a specialist #
For valuable jewelry, with enamel, pearls or delicate stones, a specialized workshop is better.
Insurance and records #
Keep invoices, certificates and photographs before and after.
Step by step #
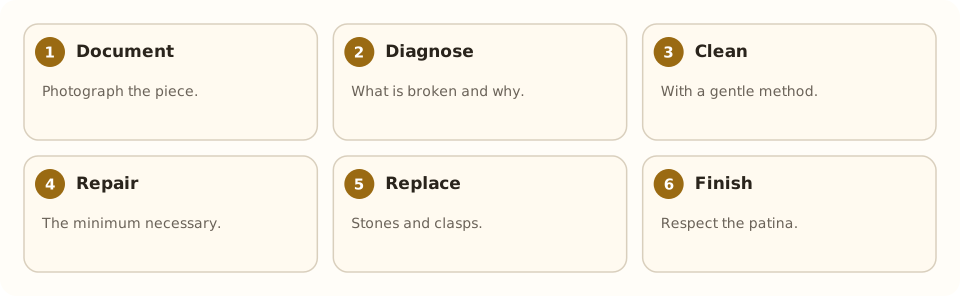
- Document. Photograph the piece.
- Diagnose. What is broken and why.
- Clean. With a gentle method.
- Repair. The minimum necessary.
- Replace. Stones and clasps.
- Finish. Respect the patina.
Tools and materials #
- Loupe and microscope
- Soldering and laser tools
- Replacement stones and parts
- Record sheets
Common mistakes #
- Over-polishing and losing marks.
- Replacing original parts.
- Not documenting the change.
- Repairing without diagnosis.
See also #
This entry was drafted with the help of AI and is pending review by the author.
Related articles
 Techniques
Pavé setting
Pavé covers a metal surface with many small stones held by tiny beads of metal, as if “paved”; it gives continuous sparkle.
 Techniques
Burnishing: smoothing without removing metal
Burnishing smooths and shines metal by rubbing it with a polished steel tool, without removing material; used on bezels, prongs and as a final finish.
 Techniques
Metal clay (PMC)
Metal clay mixes silver or gold powder with a binder; it is hand-modeled and fired into solid metal. A modern, accessible technique.