Resin jewelry: step-by-step technique

The resin technique pours a liquid that hardens in a mold, sometimes with flowers, pigments or glitter. See resin as a material.
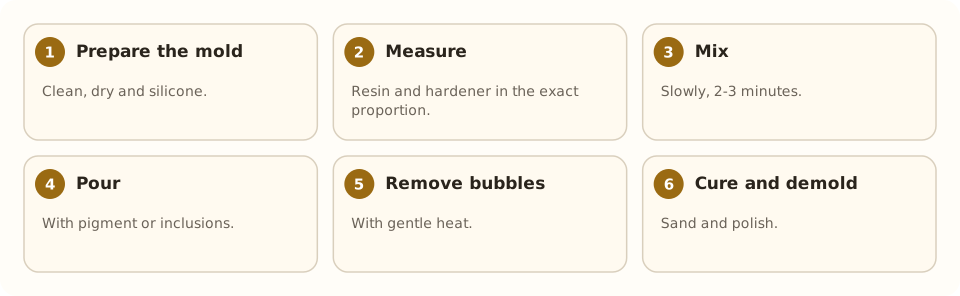
Step by step #
- Prepare a clean, dry silicone mold.
- Measure and mix resin and hardener in the maker's proportions; stir slowly.
- Add pigment or inclusions and pour.
- Remove bubbles with gentle heat.
- Let it cure, demold, sand and polish.
Common failures #
Bubbles, sticky surfaces from a badly measured mix and yellowing from sunlight.
Safety #
Nitrile gloves, ventilation and glasses; uncured resin irritates the skin.
Mounting #
Rings or metal bases are added to turn it into a pendant or earring.
Step by step #
- Prepare the mold. Clean, dry and silicone.
- Measure. Resin and hardener in the exact proportion.
- Mix. Slowly, 2-3 minutes.
- Pour. With pigment or inclusions.
- Remove bubbles. With gentle heat.
- Cure and demold. Sand and polish.
Tools and materials #
- Jewelry epoxy resin
- Silicone mold
- Pigments, dried flowers, glitter
- Nitrile gloves, glasses and ventilation
Common mistakes #
- Badly measured mix: it stays sticky.
- Stirring fast: lots of bubbles.
- Pouring into a damp mold.
- Exposure to sun: it yellows.
See also #
This entry was drafted with the help of AI and is pending review by the author.
Related articles
 Techniques
Pavé setting
Pavé covers a metal surface with many small stones held by tiny beads of metal, as if “paved”; it gives continuous sparkle.
 Techniques
Burnishing: smoothing without removing metal
Burnishing smooths and shines metal by rubbing it with a polished steel tool, without removing material; used on bezels, prongs and as a final finish.
 Techniques
Metal clay (PMC)
Metal clay mixes silver or gold powder with a binder; it is hand-modeled and fired into solid metal. A modern, accessible technique.